Amazing Wildlife Video

Most Recent Images

Art Prints

Level Up Your Nature Photography With These Essential Tips


Blog Author: Riley Conti, Adobe Express


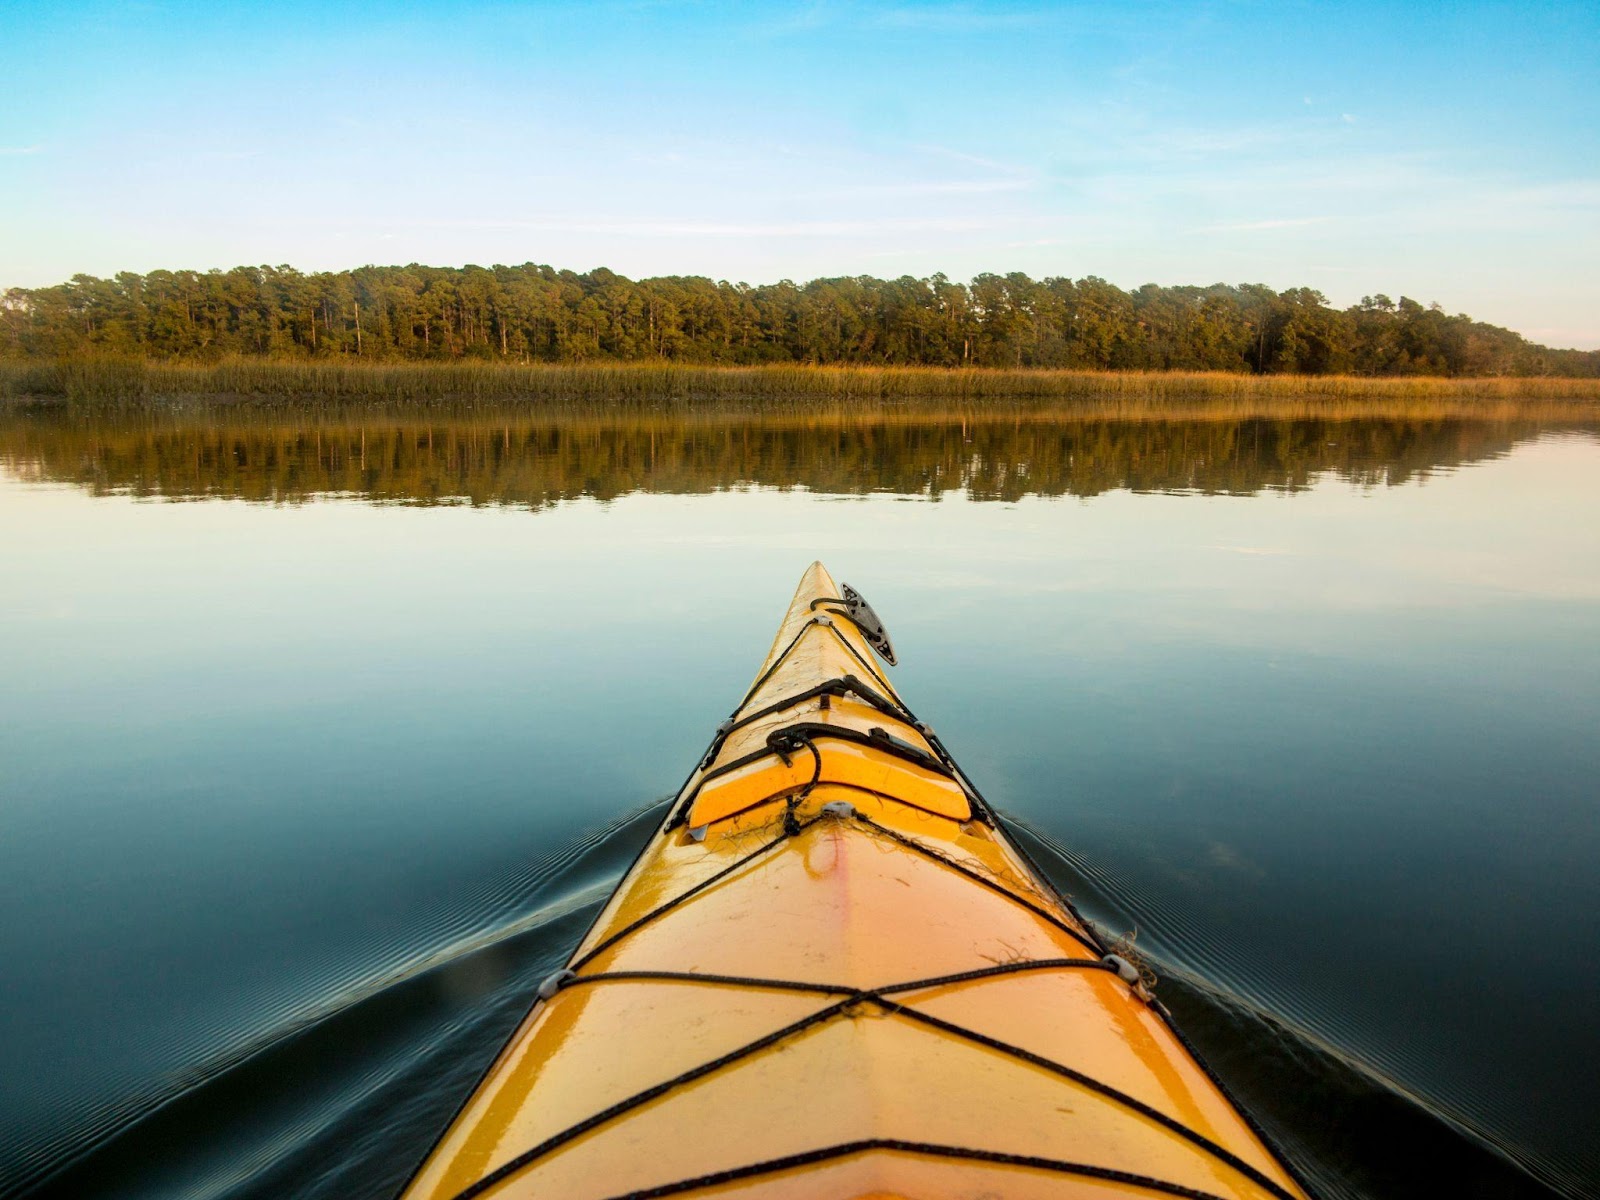
Photo via Adobe Stock

Nature photography is a great way to capture the beauty of the world around us. Whether you’re a beginner or a professional, there are a few things to keep in mind as you head outdoors for the perfect shot, as your surroundings can affect everything from the mood of your photos to your ability to get a clear shot. Not only that, but nature can throw even the most experienced photographer a curveball now and then with pop-up storms and unpredictable wildlife, so it's crucial to be prepared. Read on to learn more about how to level up your nature photography with this blog post courtesy of Amazing Action Photography.

Set Up Your Composition

When taking nature shots, it’s important to set up your composition, and this will require moving around a bit to find the right angle and frame. Consider the light, the background, and the foreground when setting up your composition, as well as the environment itself. Is there fog or mist that will soften your image or create an atmospheric perspective? Taking these details into consideration will help you create a beautiful and balanced image.

Invest in a Great Tripod and Quality Lenses

Having a reliable tripod and quality lenses will help you take better nature shots. A tripod will help you keep your camera steady and reduce camera shake, but it should be extremely sturdy in case of high winds. Quality lenses will help you capture more detail and create sharper images. You'll also want to consider investing in a long lens and experiment with different camera settings, especially if you'll be trying for action shots with a lot of movement.

Patience is Key

Anytime you're taking photos outdoors, patience is key. Nature photography often requires waiting for the perfect moment, whether you're anticipating a shot of wildlife or a stunning image of wildflowers that needs sunlight to make the colors pop. Taking the time to set up your composition and prepare for the shot will allow you to sit back and wait without distractions.

Prepare for the Weather

When taking nature shots, it’s important to prepare for the weather. This means dressing appropriately and bringing the right protection for both yourself and your gear. Rainy or snowy days make for great shots, but they can also be extremely unpredictable, both in real life and on camera.

Use Adobe Express to Enhance Your Images:

Adobe Express is a great tool for creating beautiful social media posts or products using your nature shots, and it's free to use. With Adobe Express, you can easily edit your images and create stunning visuals to be used online or in print. This will help you share your nature photography with the world! Here are a few tools you can try:

  • Create a beautiful photo calendar that uses a different nature photo for each month of the year. This makes a great gift, or you can sell them on your website. Adobe’s templates make the process easy; the hardest part is deciding which photos to use!

  • Create a slideshow to share on your site. You can even add music to go with your favorite shots. Use text in a font that will elevate your images.

  • Do you create a lot of video content for your business or nonprofit? Make a YouTube banner that displays a great photo of your team or best-selling products. This is a great way to introduce a branded visual into your YouTube profile.

  • Have an Instagram shop? Make an eye-catching post with a stunning image and clear text. You can customize your post using brand colors or your logo so that followers know immediately that it’s you.

Nature photography is a great way to capture the beauty of the world around us, but it pays to be prepared. With the right tools and a bit of planning, you can ensure that every shot you take outdoors is high-quality. And with Adobe Express, you can turn your photos into anything from a targeted social media post to a fine art print without breaking the bank.

Ready to plan your next outdoor adventure turned photo session? Check out Amazing Action Photography for some inspiration.

How To Photograph Waterfalls and River Rapids


Shoshone Falls - Twin Falls, Idaho

How to photograph any waterfalls like the professional photographers do? I'm going to tell you this secrets in step by step so that you could get the picture you have been dreaming of ever since you got your camera.

There are exactly  two ways to photograph any waterfalls. The 'Easy Way' and the 'Artistic Way'. Well, the so called 'Easy Way' also involve a lot of your artistic talents but it just require a little bit of less effort than the other way.

Lets do the easy way first before we learn the more complex one. This is for everyone with a camera. I know, you can just walk into a fall, frame it, and press the shutter release button. Now you look at the picture on that tiny display and you are not quite satisfied. So here comes a little bit of artistic talent. Before you rush to the fall to click that selfie, lets walk around and study the magnificent waterfalls from your eyes while your camera or the phone camera still stay in the bag. While you walk, look for the best possible view with least amount of obstruction. Yes, waterfalls are tourist attraction. You will find lots of photographers walking around with their own cameras. You don't want all of them in your frame, unless they are adding value to your picture. Also make sure the light is not too harsh, usually early morning or late evening are the best time unless the falls is in shed.

Once you find your spot, with a clear view of the fall, compose your frame keeping the waterfall as your primary focal point. Keep the shutter speed above 1/125, aperture between f8-f11 and ISO in auto. I would prefer matrix or center weighted metering, but if you are not sure bracket your exposure for 3(1EV) or 5(0.5EV) shots depending on light condition. Now press the shutter release for your test shots and review your pictures, recompose & retake after adjusting exposure until your are satisfied. 

I took several shots of this falls in Easy Way, liked this one best.


Now let's do the other way where you need to spend considerable time planning for your shots. I will start with the list of gadgets you would need.

Gadget List:

  1. A camera with manual control
  2. Wide angel lens, a 24-70mm zoom works best.
  3. Sturdy tripod with ball head
  4. L-bracket for your camera ( easy to change orientation from landscapes to portrait )
  5. ND Filter ( nd4 - nd32), Circular Polarizer filter
  6. Electronic Cable Release
  7. Rain Cover for Camera & Lens
Once you have the gear ( First 3 are mandatory, rest are optional ), you need to research about the falls you want to photograph. This research is like the walk around the falls I suggested previously. You would be taking a long exposure shot. So you definitely need to find a spot where you won't be bothered in the middle of your shot. Trust me, there is always that one person who loves walking in front of your camera while your shot is in progress. Check out the following list.
  • Best time of the day when the fall is evenly illuminated 
  • Best viewing spot for the fall
  • Some space near best viewing spot where you can setup your tripod, make sure no one can walk in front of it.
  • Wind direction / mist from the waterfall. If you are getting mist, you need to put your camera inside the rain gear. 

Setting Up for the Shot:

  1. Arrive early to your previously researched spot and start preparing for the shot.
  2. Setup your tripod. Make sure all 3 legs are on firm support. Then level the tripod. Most tripod comes with bubble leveler that you can use.
  3. Attach electronic cable release into the camera. You will release the shutter remotely to avoid vibration.
  4. If the place has mist from the fall, put the camera inside the rain gear and then attach to the tripod head. Adjust the tripod head to level the camera as again.
  5. Compose your images the way you want it. Every photographers wants it in their own way. So you got to decide what you want in the frame and what must  be excluded. Anything that cause destruction should be excluded which anything that add values can be included.
  6.  If you can shoot the whole fall, make sure there are more room in the bottom where the water crashes. Usually there is not much interest at the top unless you can show the trail of water source.
  7. Set your camera in Aperture priority and set the F number between f8-f11 depending on the light. Set the ISO to the camera native ISO ( usually it is 64 or 100). Now take few test shot with this setup. Recompose your frame until you get exactly what you are looking for. Remember, you can crop latter to exclude unwanted subjects, but you can't get something back in your frame if you exclude it while shooting.
  8. Now we are going to full manual mode. Turn the auto focus off once you locked the focus from previous step. Also, turn the exposure mode to manual as well. Set the shutter speed to 2 secs, ISO to native and Aperture to f11. Now, press the shutter release button half and verify if the exposure is correct. Your camera should indicate if you are over/under/rightly exposing the frame. If you are overexposing by maximum 1 stop, attach the circular polarizer. You can adjust the polarizer to neutralize reflection from shiny objects. Attach the ND filter ( start with ND4 and go higher if needed) if you are still overexposing. If water speed is very fast, you may reduce shutter speed to 1 sec.
  9. Take your first shot when camera meter says your exposure is right. Now review the image you just shot, make sure you are not over exposing any part. The best way to check this is to look at the histogram and make sure no clipping tower. A slightly underexpose image can be recovered in post processing, but overexpose image is very hard to recover if not impossible.
  10. Adjust the ISO / Aperture / ND filter to get the correct exposure. You can't reduce shutter speed lesser than 1 secs as you won't get the silky smooth finish that gives the impression of motion in the water. 
  11. If you are underexposing, don't go more that 3 secs with the shutter speed.  Anything beyond 3 secs will give you an impression of spilled milk. So open the aperture or increase the ISO if you are already at max aperture.
Press the shutter release button in the remote and review your shots after each take. Adjust, recompose and retake if necessary. Never leave the place without reviewing your image. You don't want to go home and discover you had your lens cap on all the time. Sooner you discover any problem, faster you can solve it while you still have the opportunity to get the best shot.


Vernal Falls at Yosemite, shot from Mist Trail.


River Rapids:

While photographing river rapids, the techniques are similar except the composition part. You already know how you can get a silky smooth flow pattern for  the water. However, the merit of your image will depend on what else you keep around the water. This is where your artistic mind play a BIG role. There is no law or guidelines for this. Compose the way your eyes want to see it and good luck.

Don't hesitate to go down near the water, as long as you can do it safely to get the best perspectives for your shot. Try different angles and then keep the best one.

Merced River, Yosemite National Park


More images of Waterfalls and River Rapids are available in my Fine Art America Pixels Store  where you can order a print if you would like to.

Print Ordering Catalog

Your order will be processed and fulfilled by Fine Art America. Your satisfaction is guaranteed or money back as per Fine Art America Return Policy 


Contact ME

Name

Email *

Message *